Insulation teams in Ottawa don’t want this process to be a mystery for you; you should be well informed of the process before, during, and after.
Find out what this process will look like for you as a homeowner after you’ve contacted us to install insulation in your home:
So you’ve chosen your insulation, now what?
Before taking time out from your building to allow the team to install the insulation, touch base with the person supervising the project. Supervisors should take you through a run down of the process, and introduce you to who exactly will be carrying out the installation. This may not be the supervisor, himself or herself. If not, don’t be shy in asking any questions you might have about their qualifications.
Residential insulations teams in Ottawa are certainly qualified, but if it makes you feel more comfortable, definitely check in.
The prep before the installation
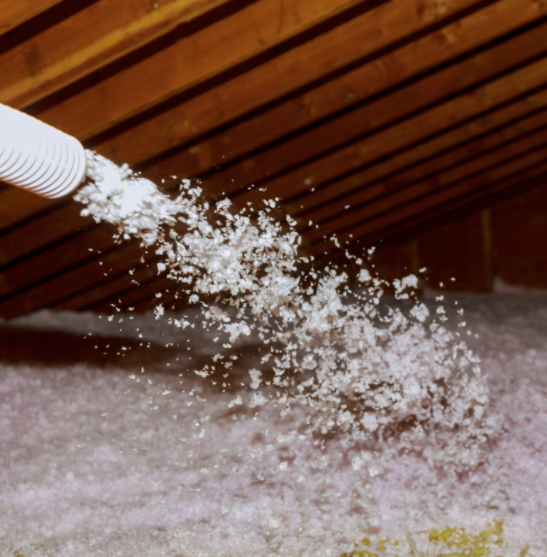
The foam insulation team will first carry out some important prep work. This prep work entails managing ‘overspray.’ Overspray is the accumulation of airborne SPF particles on surfaces around where the application will be laid.
What will this look like? There will be the sealing off of areas with masking tape and plastic sheeting, as well as other surfaces that shouldn’t be covered in SPF overspray.
There will also be consideration paid to extinguishing any ignition sources in the vicinity of the spray area.
Ventilation
Alongside the prepping process, they are also going to set up important ventilation. This will depend on the location and context of the installation, but imagine fans and flexible tubing around the areas without immediate accessibility to windows.
No need to stick around
During the actual application, feel free to head out and grab a coffee or do some shopping; you shouldn’t be present while the application is being carried out, anyway.
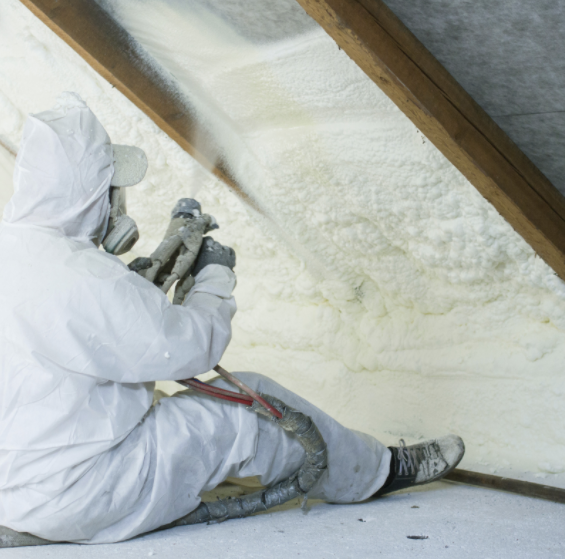
If you happen to be within sight of the area, you’ll see the team outfitted in their protective gear (PPE) during this process.
When can you re-enter?
Your insulation team will let you know when specifically you can re-enter. Expect to hear something around 24 hours for a high-pressure application, and as low as 60 minutes for a low-pressure application.
The factors that may alter the amount of your time before you can re-enter your home come down to the material used itself, or environmental conditions.
If you re-enter and notice any suspicious odours hanging around, definitely contact the insulation team right away; after curing, the insulation shouldn’t be producing any fumes.
Clean-up…
Of course you’ve thought of this already, but your home should be just as beautiful as you left it that day of installation. The supervisor of the project should let you know of an action plan that can be implemented if you notice the installation itself is a bit of, and not aesthetically pleasing. Definitely get in touch with them if you are not satisfied.
Finally, after a day or so, you’ve received your insulation. What a relief to have had that carried out so quickly. Ottawa insulators near you want you to have this level of ease to the project. We ‘ll take you through each step of the process, and be available afterwards to discuss your feedback. Here’s a link for you to start your day of insulation:
Find out what this process will look like for you as a homeowner after you’ve contacted us to install insulation in your home:
So you’ve chosen your insulation, now what?
Before taking time out from your building to allow the team to install the insulation, touch base with the person supervising the project. Supervisors should take you through a run down of the process, and introduce you to who exactly will be carrying out the installation. This may not be the supervisor, himself or herself. If not, don’t be shy in asking any questions you might have about their qualifications.
Residential insulations teams in Ottawa are certainly qualified, but if it makes you feel more comfortable, definitely check in.
The prep before the installation
The foam insulation team will first carry out some important prep work. This prep work entails managing ‘overspray.’ Overspray is the accumulation of airborne SPF particles on surfaces around where the application will be laid.
What will this look like? There will be the sealing off of areas with masking tape and plastic sheeting, as well as other surfaces that shouldn’t be covered in SPF overspray.
There will also be consideration paid to extinguishing any ignition sources in the vicinity of the spray area.
Ventilation
Alongside the prepping process, they are also going to set up important ventilation. This will depend on the location and context of the installation, but imagine fans and flexible tubing around the areas without immediate accessibility to windows.
No need to stick around
During the actual application, feel free to head out and grab a coffee or do some shopping; you shouldn’t be present while the application is being carried out, anyway.
If you happen to be within sight of the area, you’ll see the team outfitted in their protective gear (PPE) during this process.
When can you re-enter?
Your insulation team will let you know when specifically you can re-enter. Expect to hear something around 24 hours for a high-pressure application, and as low as 60 minutes for a low-pressure application.
The factors that may alter the amount of your time before you can re-enter your home come down to the material used itself, or environmental conditions.
If you re-enter and notice any suspicious odours hanging around, definitely contact the insulation team right away; after curing, the insulation shouldn’t be producing any fumes.
Clean-up…
Of course you’ve thought of this already, but your home should be just as beautiful as you left it that day of installation. The supervisor of the project should let you know of an action plan that can be implemented if you notice the installation itself is a bit of, and not aesthetically pleasing. Definitely get in touch with them if you are not satisfied.
Finally, after a day or so, you’ve received your insulation. What a relief to have had that carried out so quickly. Ottawa insulators near you want you to have this level of ease to the project. We ‘ll take you through each step of the process, and be available afterwards to discuss your feedback. Here’s a link for you to start your day of insulation: https://www.ottawainsulations.ca/


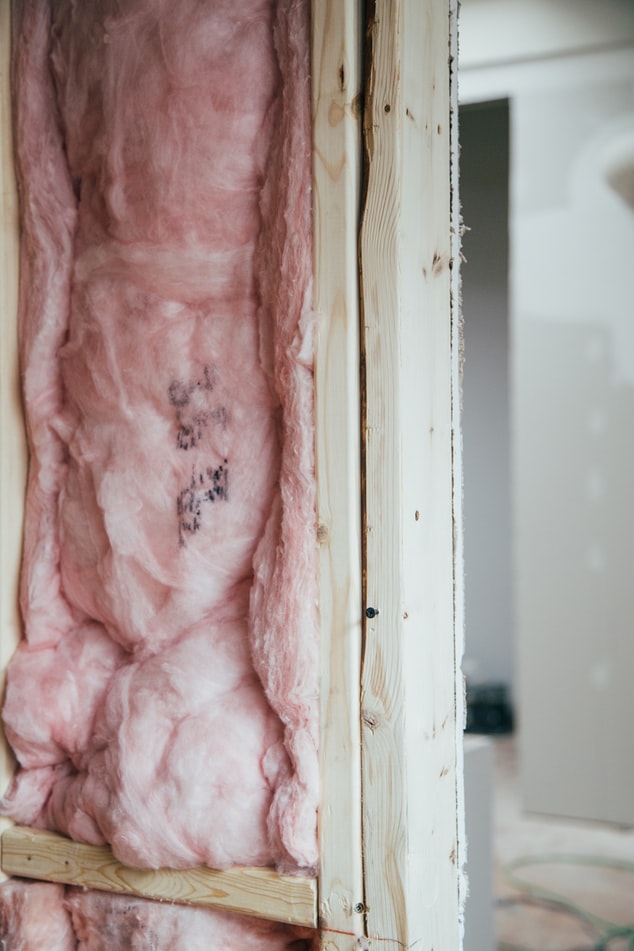
 When was the last time that you checked your insulation? Most people think that insulation is something that you can place into your home and just forget about it. But, that is not the case! After 15 years, most insulation loses the ability to perform as it did before. When this happens, you could see higher energy bills and other issues. So, take the time to check the insulation throughout your home, including the attic insulation. If you find that you are smelling something damp or mildew, chances are it could be insulation that has become wet and set up mildew, or in worse cases mold. If you do find that the insulation or the attic insulation needs some TLC, then we are the pros to call to get it taken care of.
 Do you feel air coming in around the windows? Then this could be an insulation problem as well as a window repair needed. Check for cracks, breezes and other issues when checking the windows throughout your home.